公司介绍
住理工汽车部件(大连)有限公司成立于2003年3月16日,由中日合资经营。股份构成为住友理工株式会社(90%)与大连万东贸易有限公司(10%),注册资本金5,800万元。
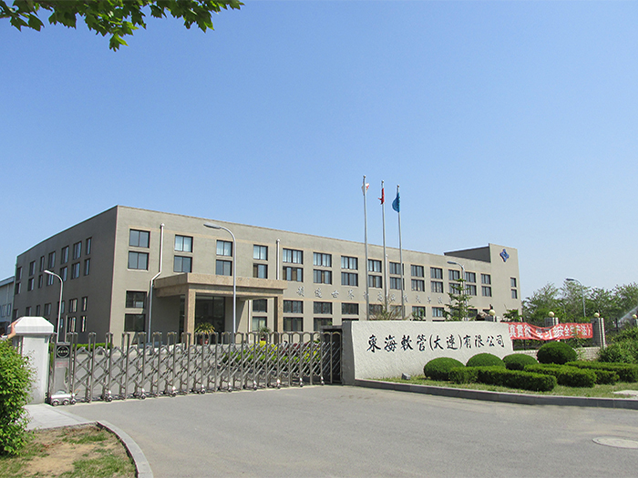
公司位于大连市普兰区海湾路25号,占地面积4.7万平方米,现有职工600余人。公司采用日本生产技术,生产有单层管、双层管、补强线胶管等橡胶软管产品。产品销往海内外多家,广泛地应用于日本产及中国国内的合资项目,如丰田、本田、日产、马自达、三菱、富士重工、铃木、日野自动车等。
公司位于大连市普兰区海湾路25号,占地面积4.7万平方米,现有职工600余人。公司采用日本生产技术,生产有单层管、双层管、补强线胶管等橡胶软管产品。产品销往海内外多家,广泛地应用于日本产及中国国内的合资项目,如丰田、本田、日产、马自达、三菱、富士重工、铃木、日野自动车等。